


What is Git and why it is Important?

Git is a tool that helps people work together on projects, especially when they're writing code for software. Think of it like a super organized and smart version of Google Docs, but for programming.
Here's why Git is important:
Version Control: Git keeps track of all the changes you make to your project. This means if something goes wrong, you can always go back to an earlier version, like a time machine for your code. No more worrying about accidentally deleting something important!
Collaboration: Git allows multiple people to work on the same project at the same time. It helps you avoid conflicts when two people try to change the same part of the project. You can work on your part without interfering with others, and then easily combine everyone's work together.
Backup: Git acts as a backup system for your project. Instead of relying on one person's computer to store everything, Git stores copies of your project on multiple computers, making sure your hard work is safe even if your computer crashes.
Branching: Git lets you experiment with new ideas without messing up the main project. You can create a "branch," which is like a separate copy of your project, try out new things, and then merge your changes back into the main project when you're ready.
Difference between Main branch and Master Branch
Master Branch: In the past, "master" was the default name for the main branch in Git. It's like the trunk of a tree, where all the main work happens. When you start a project, you usually begin with the master branch. It holds the most stable and polished version of your project.
Main Branch: Over time, some people realized that the term "master" might have negative connotations, so they started using "main" instead. The main branch serves the same purpose as the master branch—it's where all the important and finalized changes are stored.
So, in essence, both "main" and "master" branches serve as the primary branch in your project, where the most up-to-date and stable version of your work resides. They're just named differently, but their function remains the same
Difference between Git and Github

Git: Git is like the tool you use to track changes in your project. It's like having a magic notebook where you write down every change you make to your project. This helps you keep track of what you've done, go back to previous versions if needed, and work with others without messing things up.
GitHub: GitHub is like a big online community center for Git projects. It's a website where you can store your Git projects and collaborate with others. Imagine it as a huge library where people can share their notebooks (Git projects) and work on them together. You can see other people's projects, contribute to them, or even start your own.
In short, Git is the tool you use on your computer to manage your project, while GitHub is the online platform where you can store and share your Git projects with others.
What is difference between local and remote repository? How to connect local to remote?
Local Repository: Think of this as your personal workspace on your computer. It's like your desk where you do all your work. The local repository stores all the files and changes you make to your project on your own computer.
Remote Repository: This is like a backup or a shared space where you can store your project online. It's like having a copy of your work stored on the internet. Remote repositories, such as those on platforms like GitHub or GitLab, allow you to collaborate with others and keep your project safe.
To connect your local repository to a remote one:
Set Up Remote Repository: First, you need to have a remote repository set up on a platform like GitHub. It's like renting a storage space online for your project.
Link Local to Remote: You tell Git where your remote repository is located by adding a link to it. This is done using a command like
git remote add origin <remote_repository_URL>. This command tells Git that your remote repository is called "origin" (a common name for the default remote repository) and specifies its URL.Push Changes: Once you've linked your local repository to the remote one, you can push your changes from your local repository to the remote repository using
git push. It's like sending your updated files to your online storage space so others can see and work with them.
Tasks
How to setup username and email address
Setting up your username and email address in Git is important because it associates your commits (changes) with your identity. Here's how you can do it:
Open Git Bash (Windows) or Terminal (Mac/Linux): This is where you'll enter the commands.
Type the Following Commands, Replacing the Placeholder Text:
For setting up your username:
git config --global user.name "Your Name"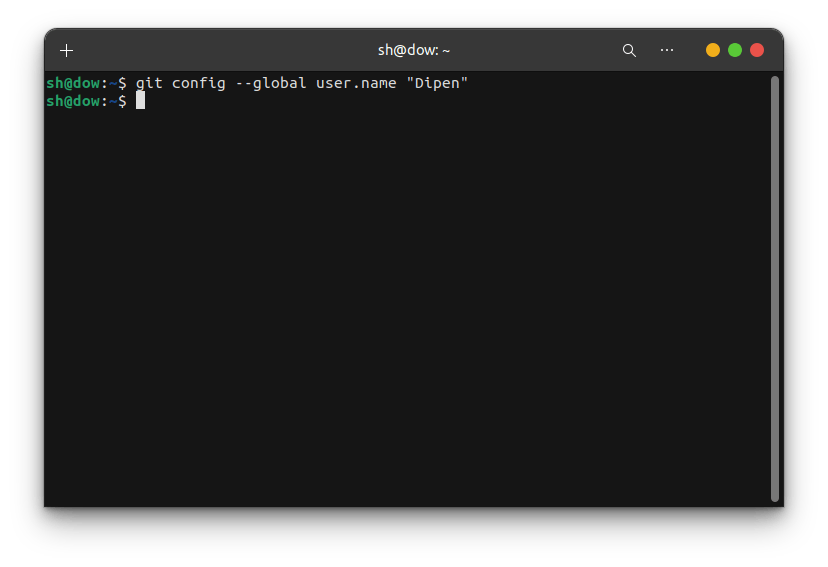
Replace
"Your Name"with your actual name.For setting up your email address:
git config --global user.email "your_email@example.com"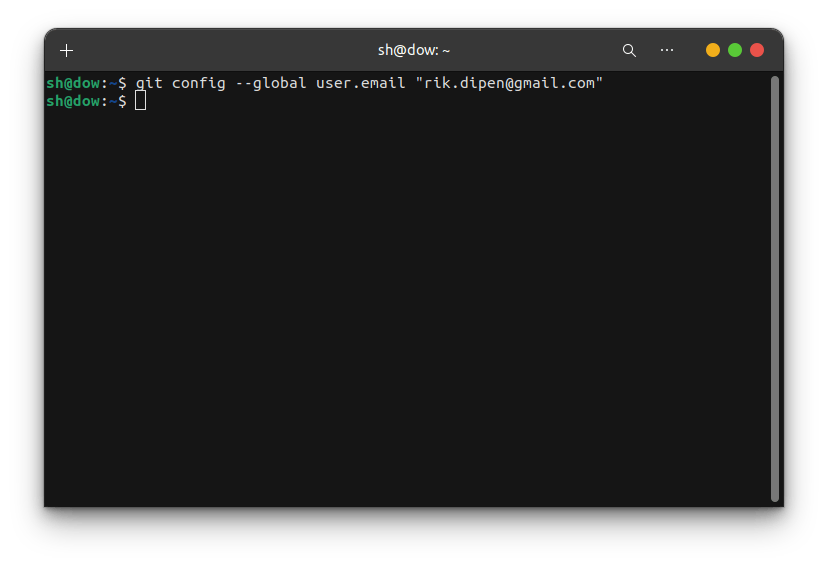
Replace
"your_email@example.com"with your actual email address.
Verify Your Configuration: You can check if your username and email are correctly set up by using the following commands:
To check your username:
git config --global user.name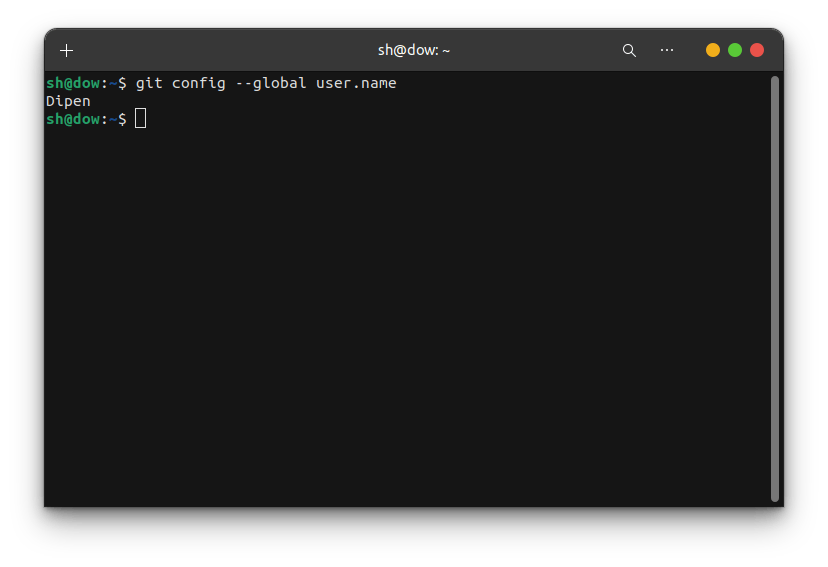
To check your email:
git config --global user.email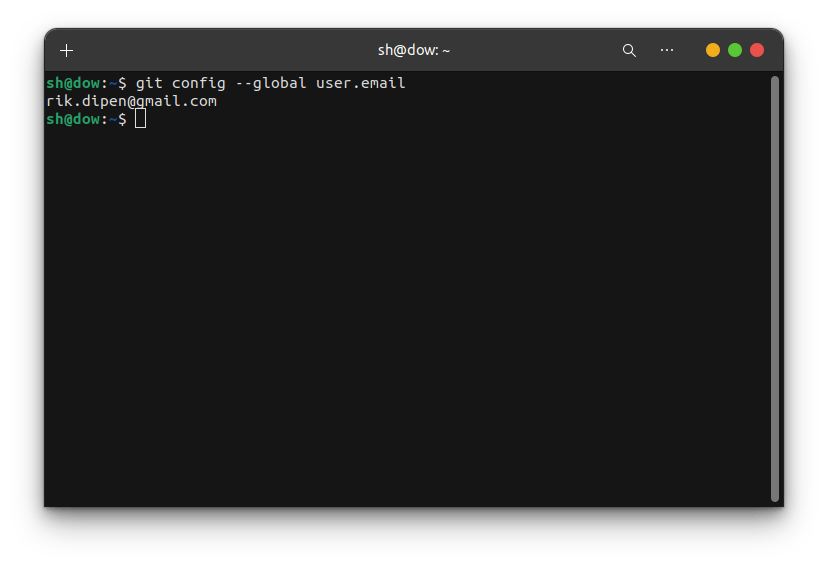
That's it! You've now set up your username and email address in Git. These details will be associated with your commits when you make changes to your projects.
Create a repository named Devops on Github
Creating a repository named "Devops" on GitHub is like making a new folder for your project on the GitHub website. Here's how you can do it:
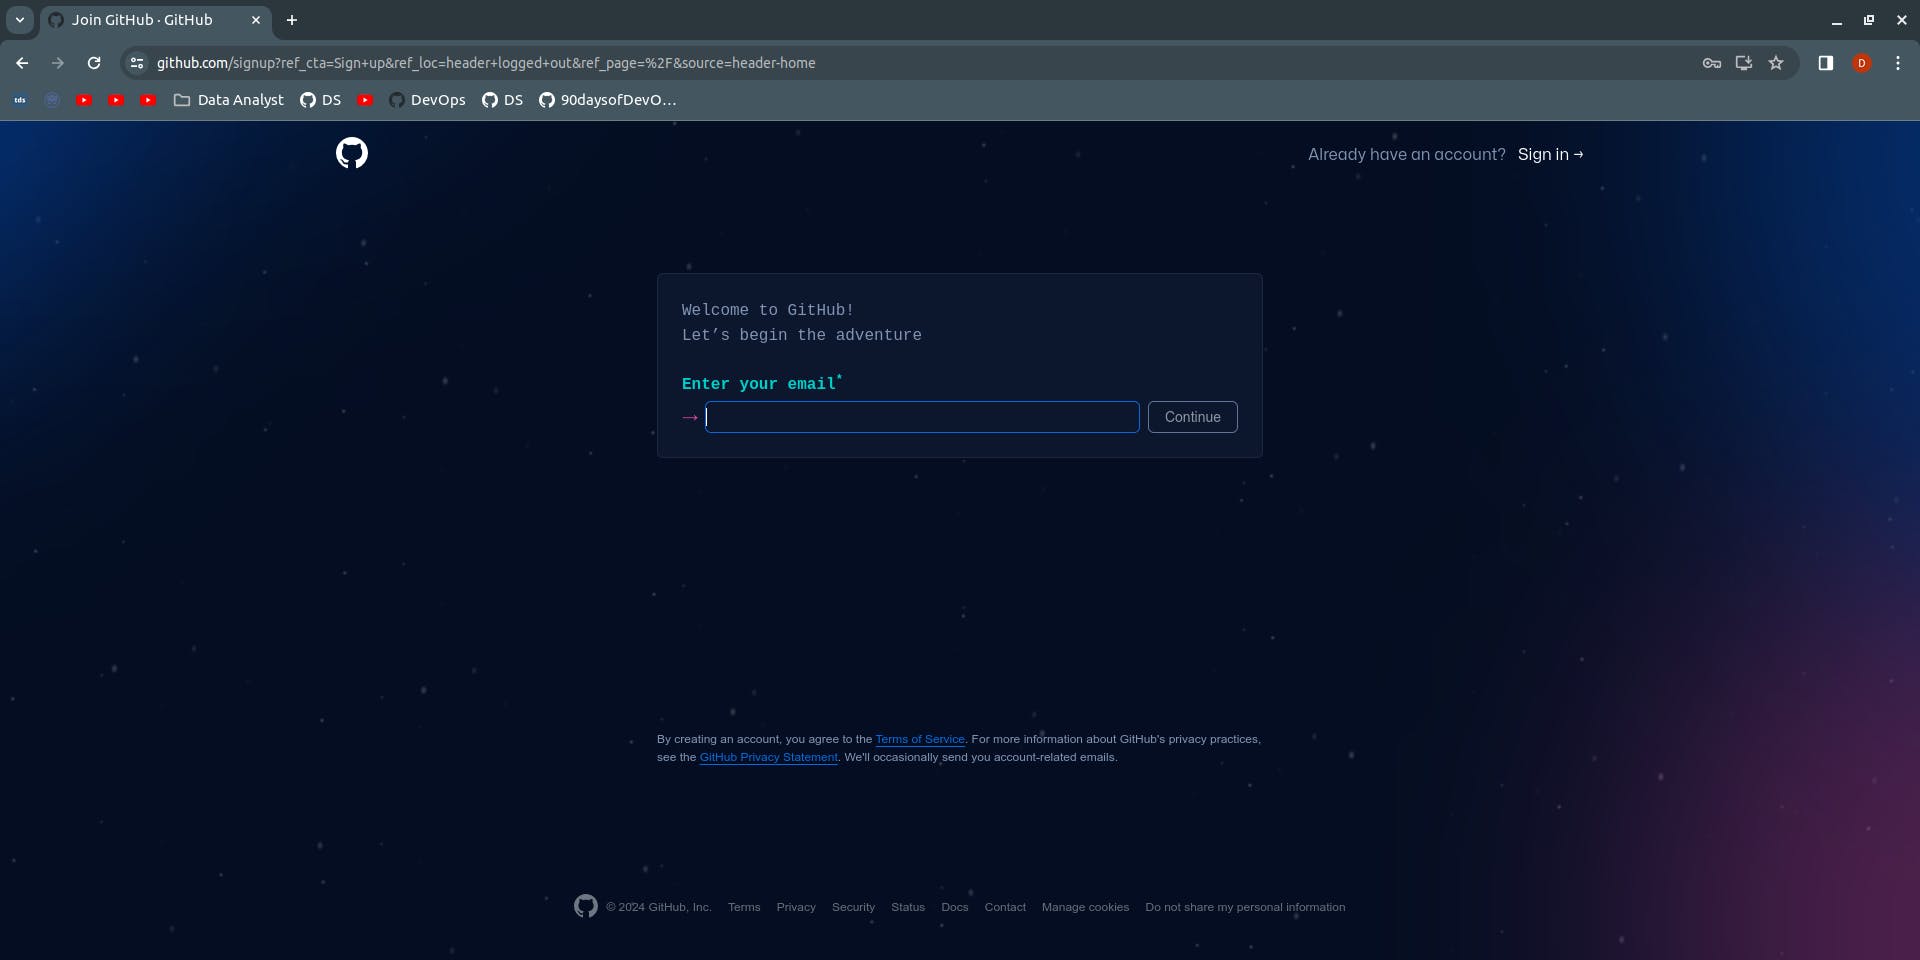
Go to GitHub: Open your web browser and go to GitHub.com.

Sign In or Sign Up: If you don't have an account, you'll need to sign up. If you have one, sign in.
Click on the "New" Icon: At the top right corner of the page, you'll see a "New" icon. Click on it.

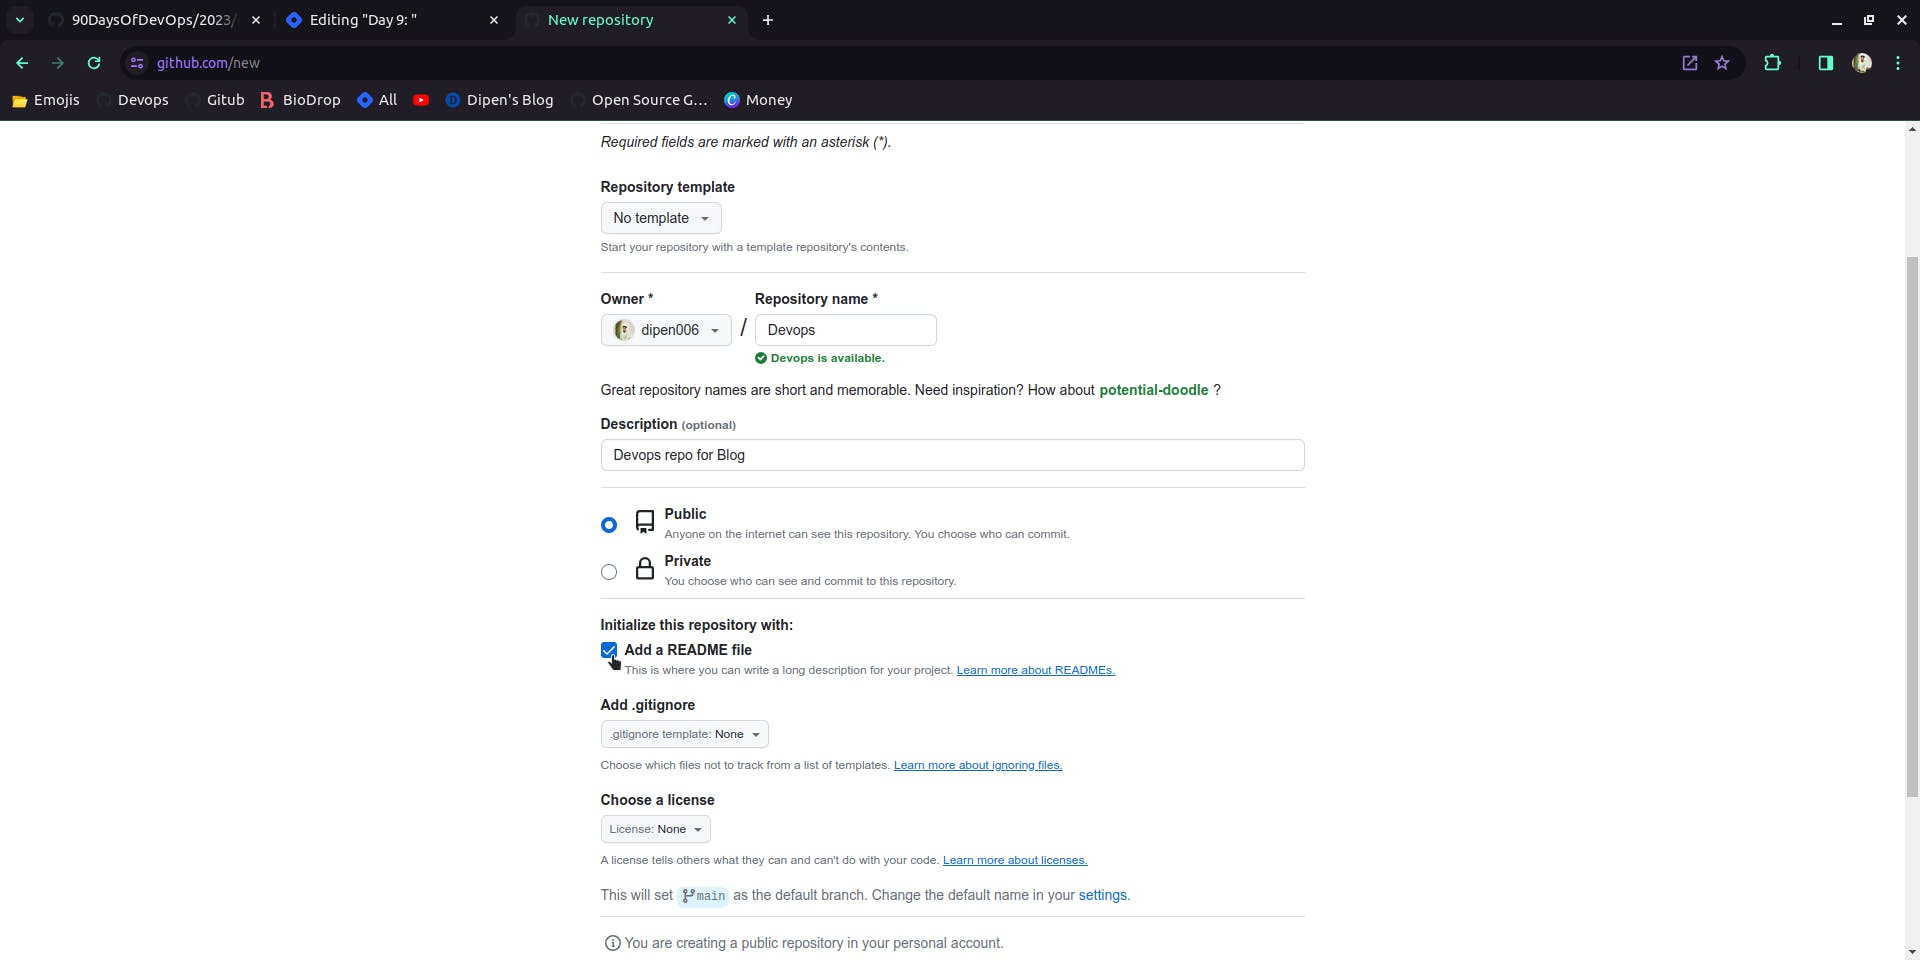
Name Your Repository: In the "Repository name" field, type "Devops."
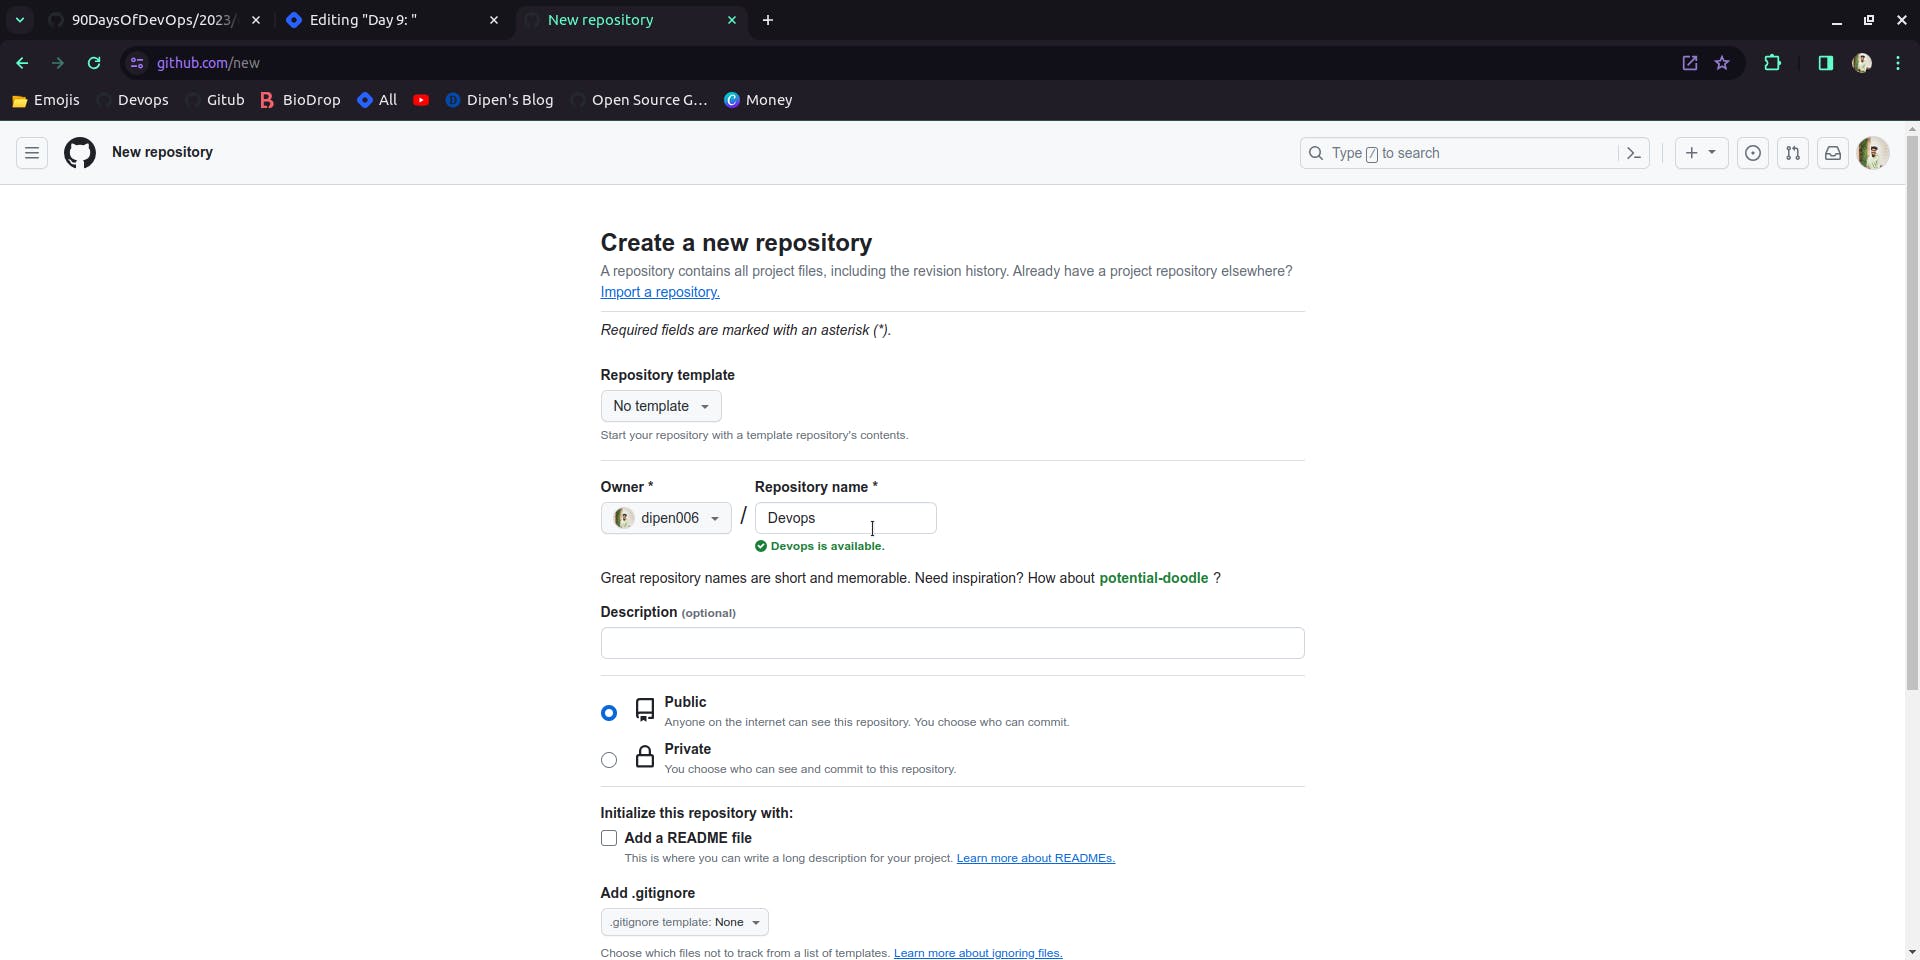
Optional: Add Description: You can add a description if you want, to briefly explain what your project is about.
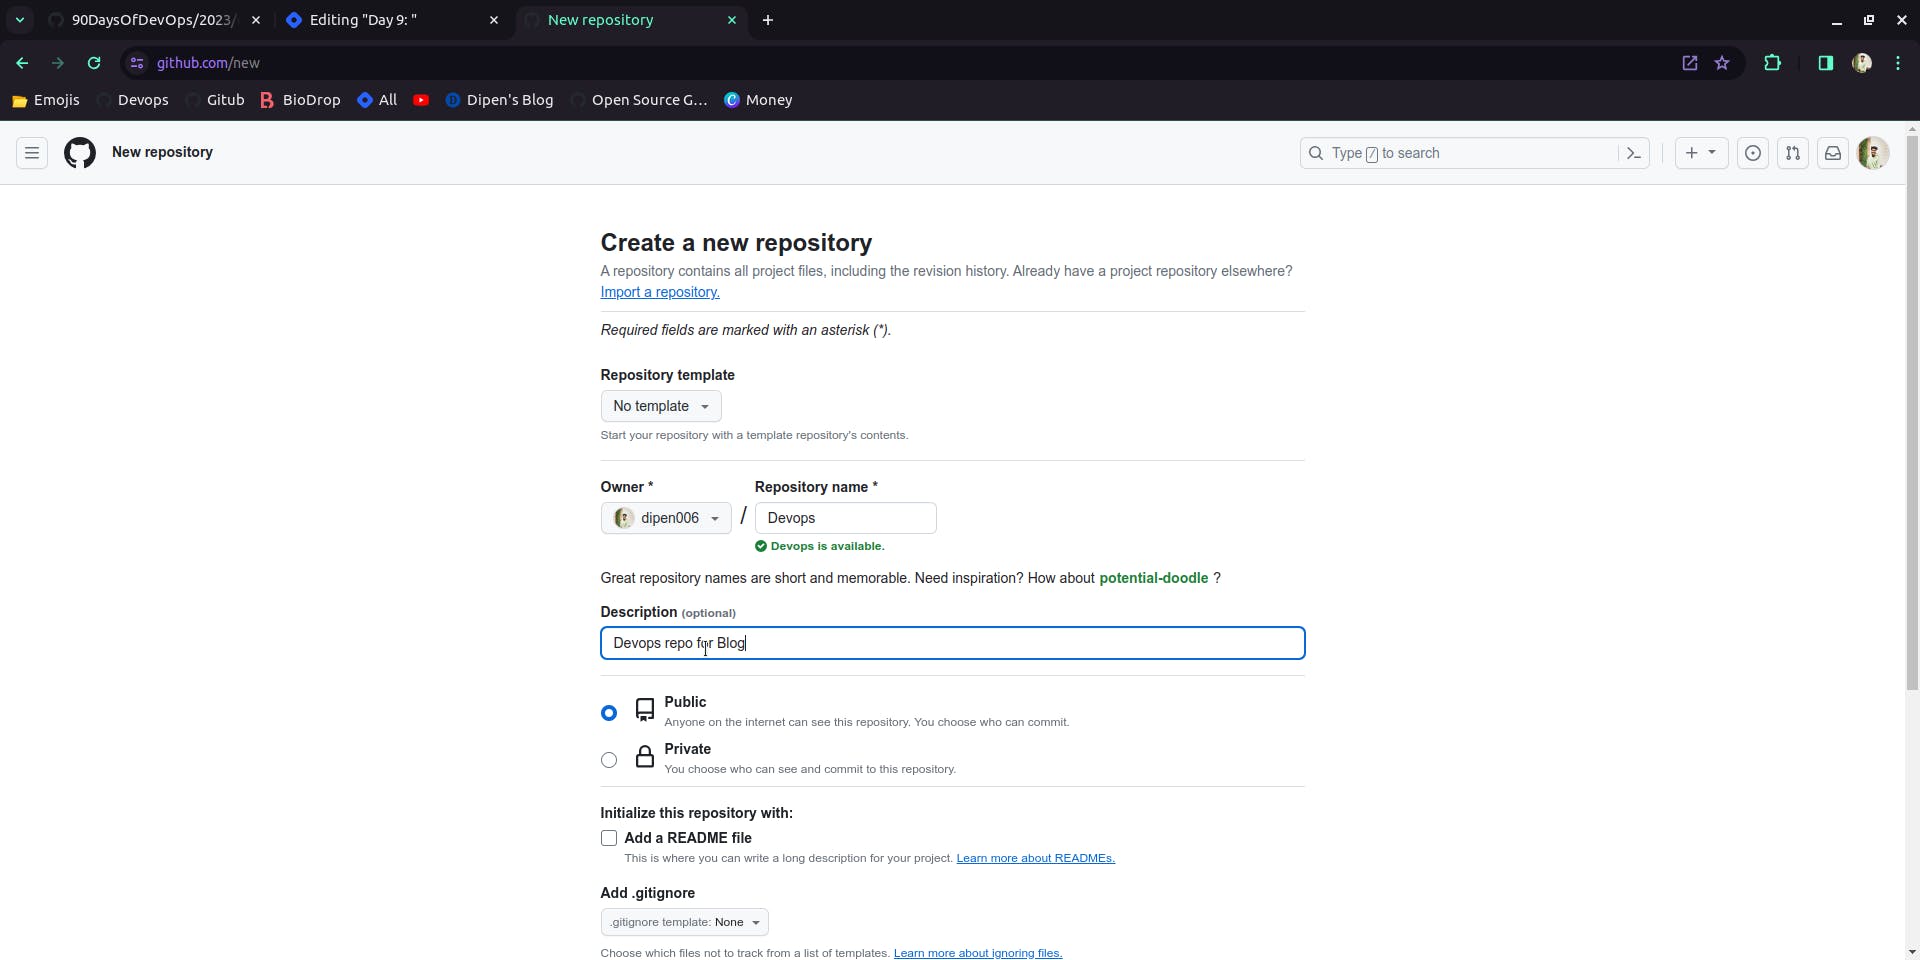
Choose Visibility: You can choose whether you want your repository to be public (visible to everyone) or private (visible only to you and the people you give access to). For simplicity, you can keep it public.
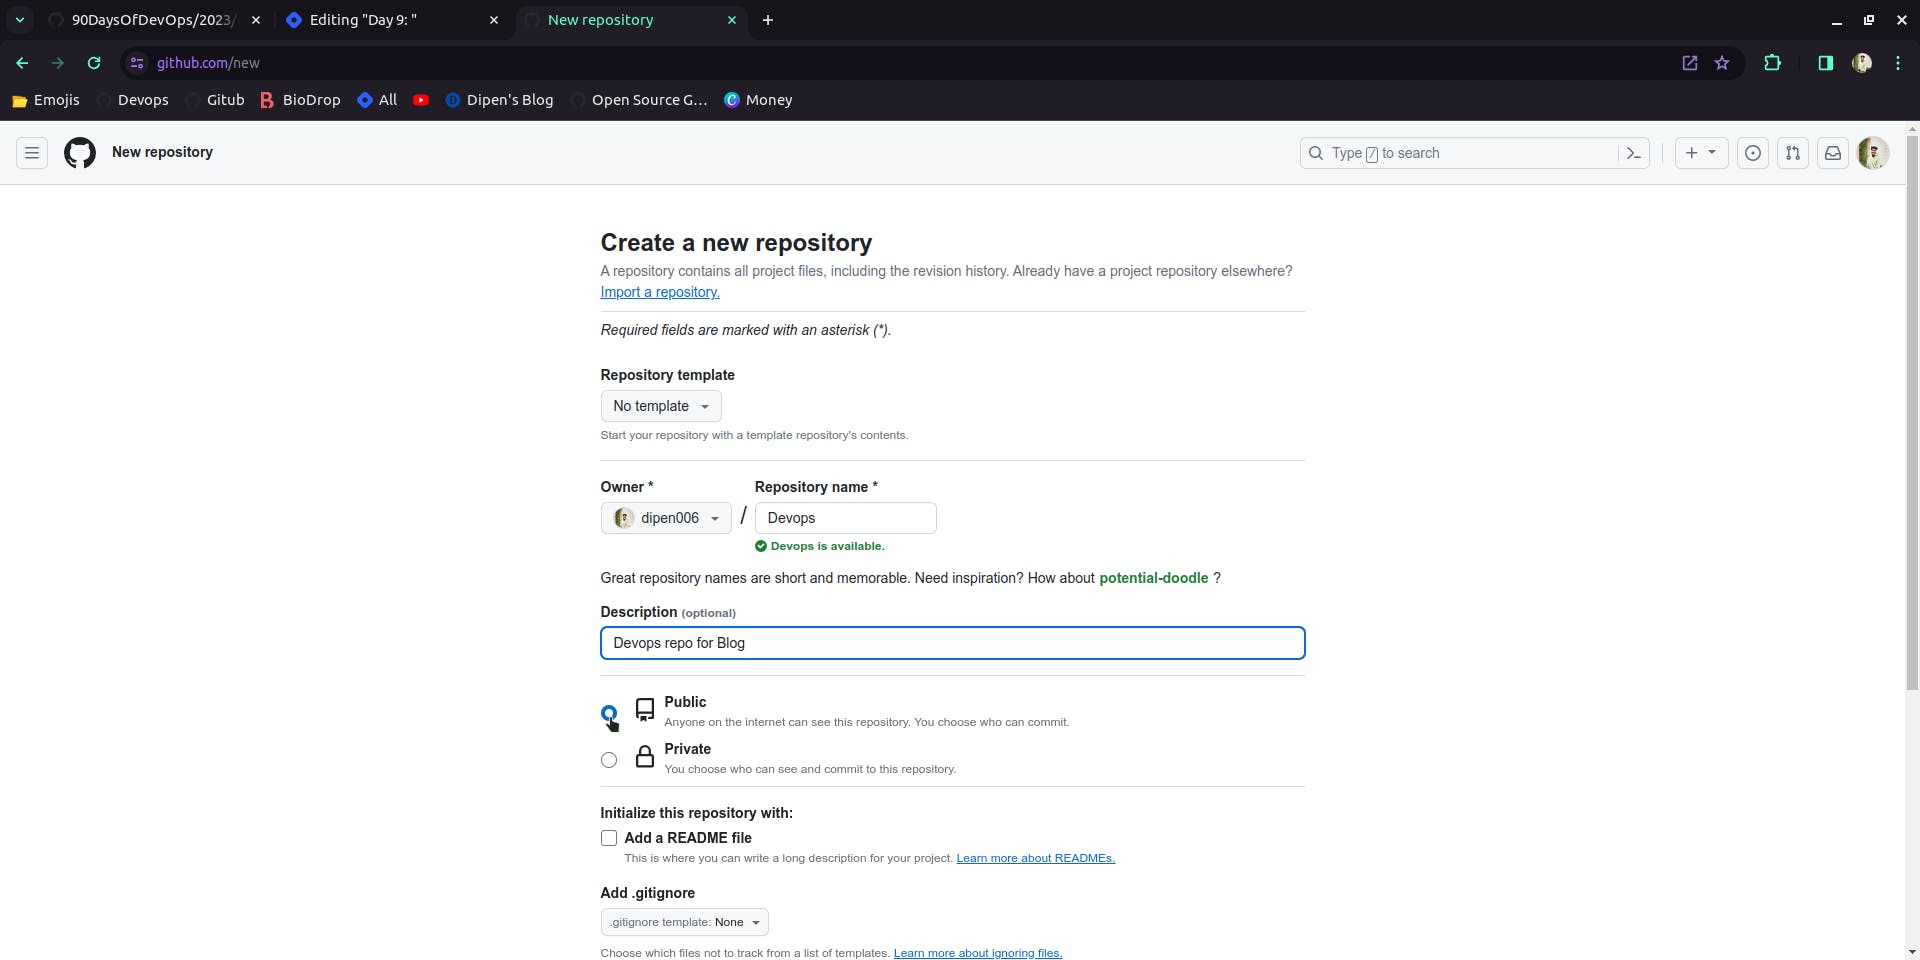
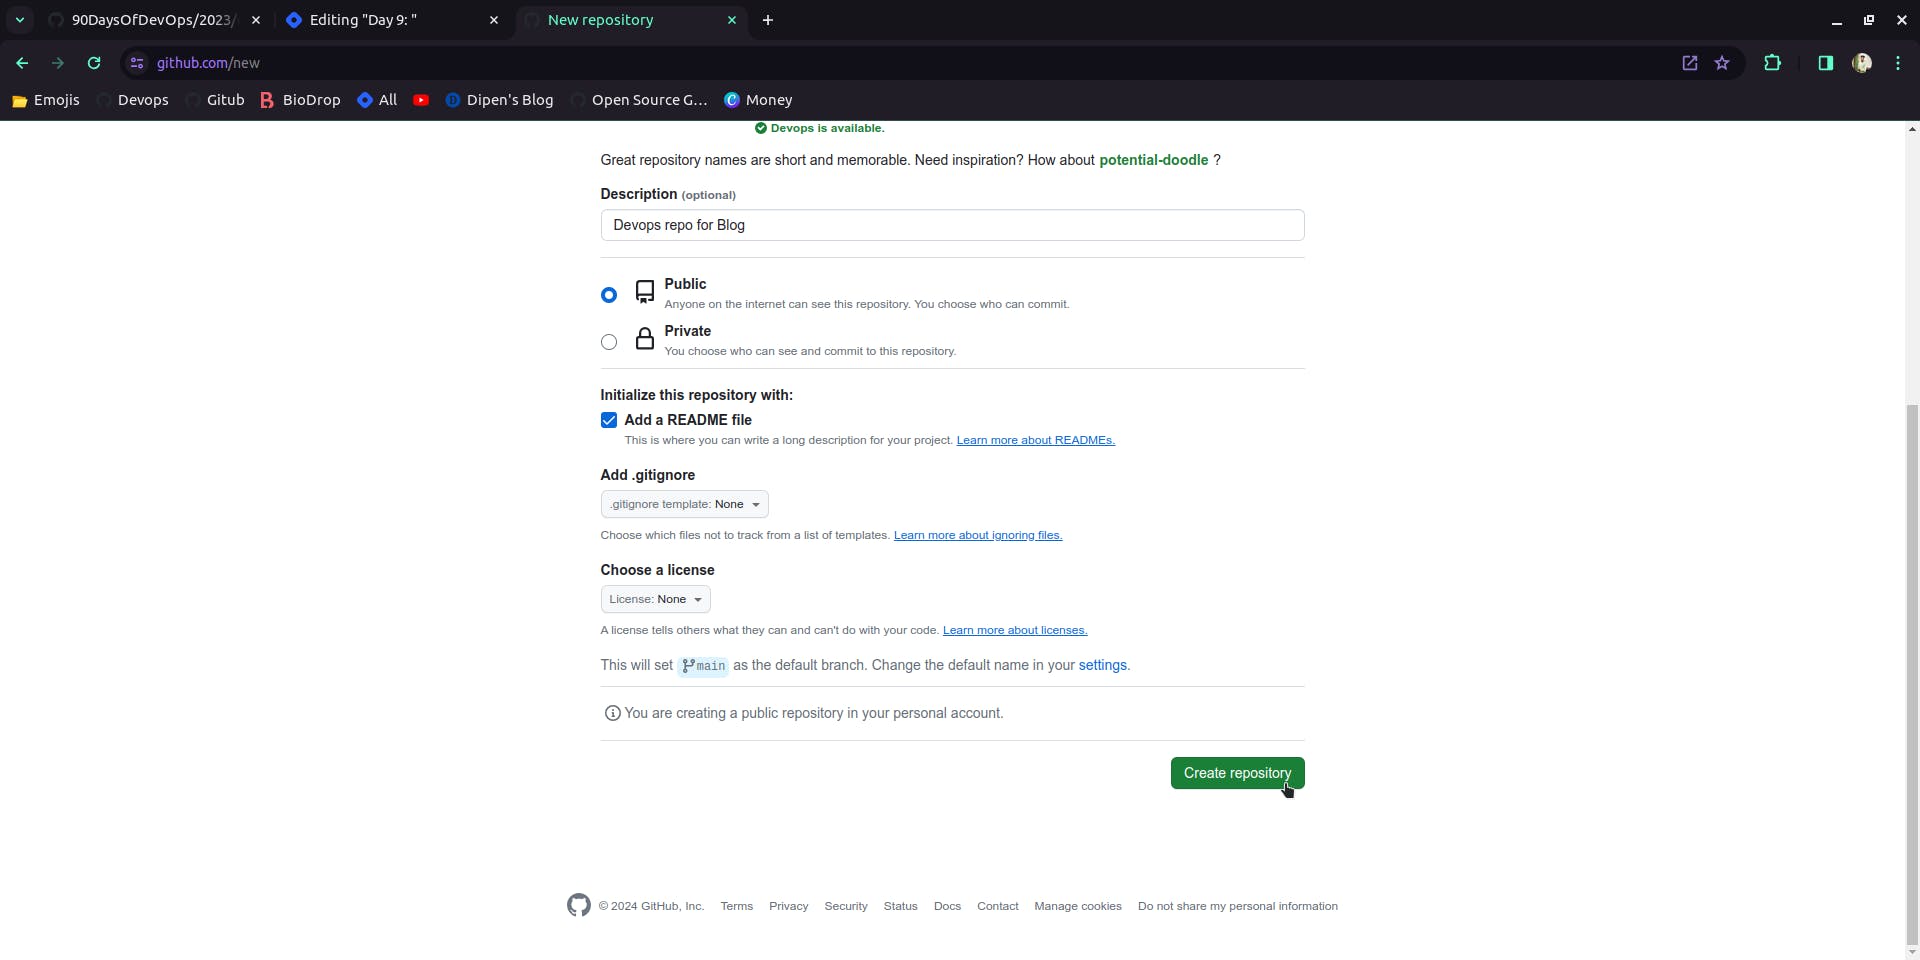
Initialize with a README: Check the box that says "Initialize this repository with a README." This will create a README file in your repository, which is like the first page of your project where you can write information about it.
Click "Create repository": Once you've filled in the necessary details, click the green button that says "Create repository."
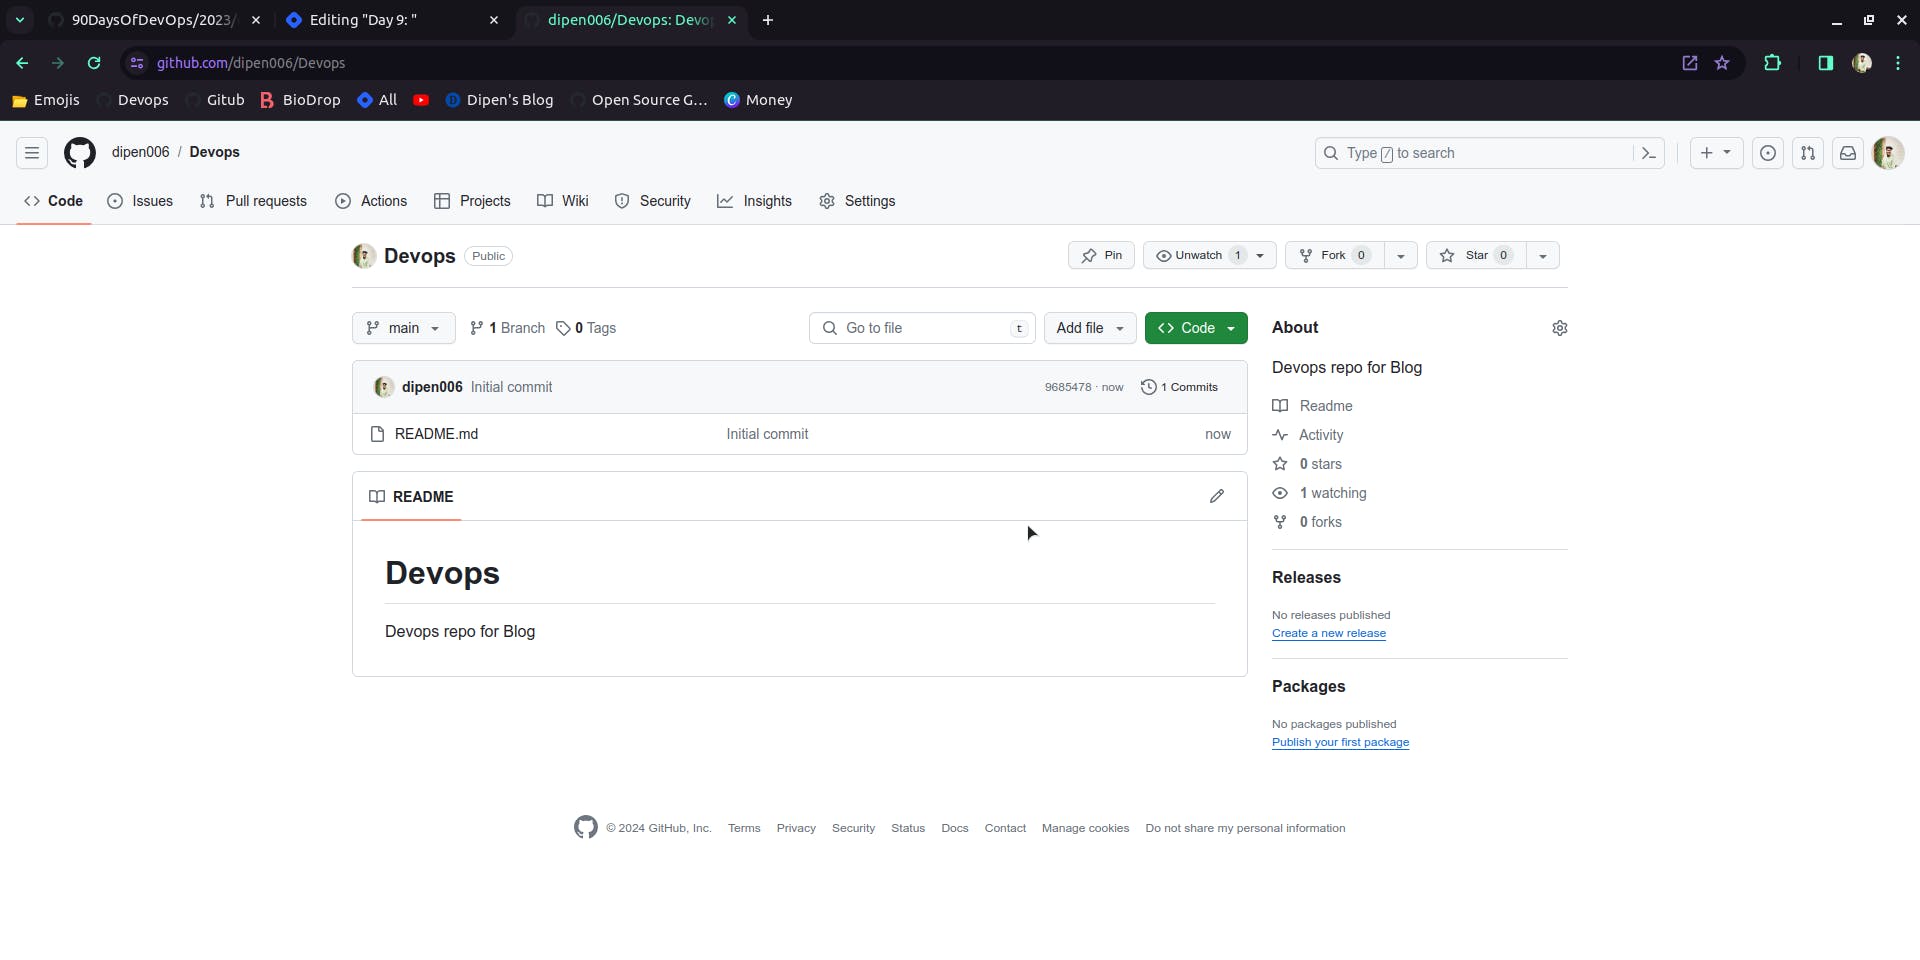
That's it! You've now created a repository named "Devops" on GitHub. You can now start adding files, writing code, and collaborating with others on your project.
Connect your local repository to the repository on Github
To connect your local repository to the repository on GitHub, you need to follow these steps:
Copy the Repository URL from GitHub:
Go to your repository on GitHub (in this case, "Devops").
Click the green "Code" button.
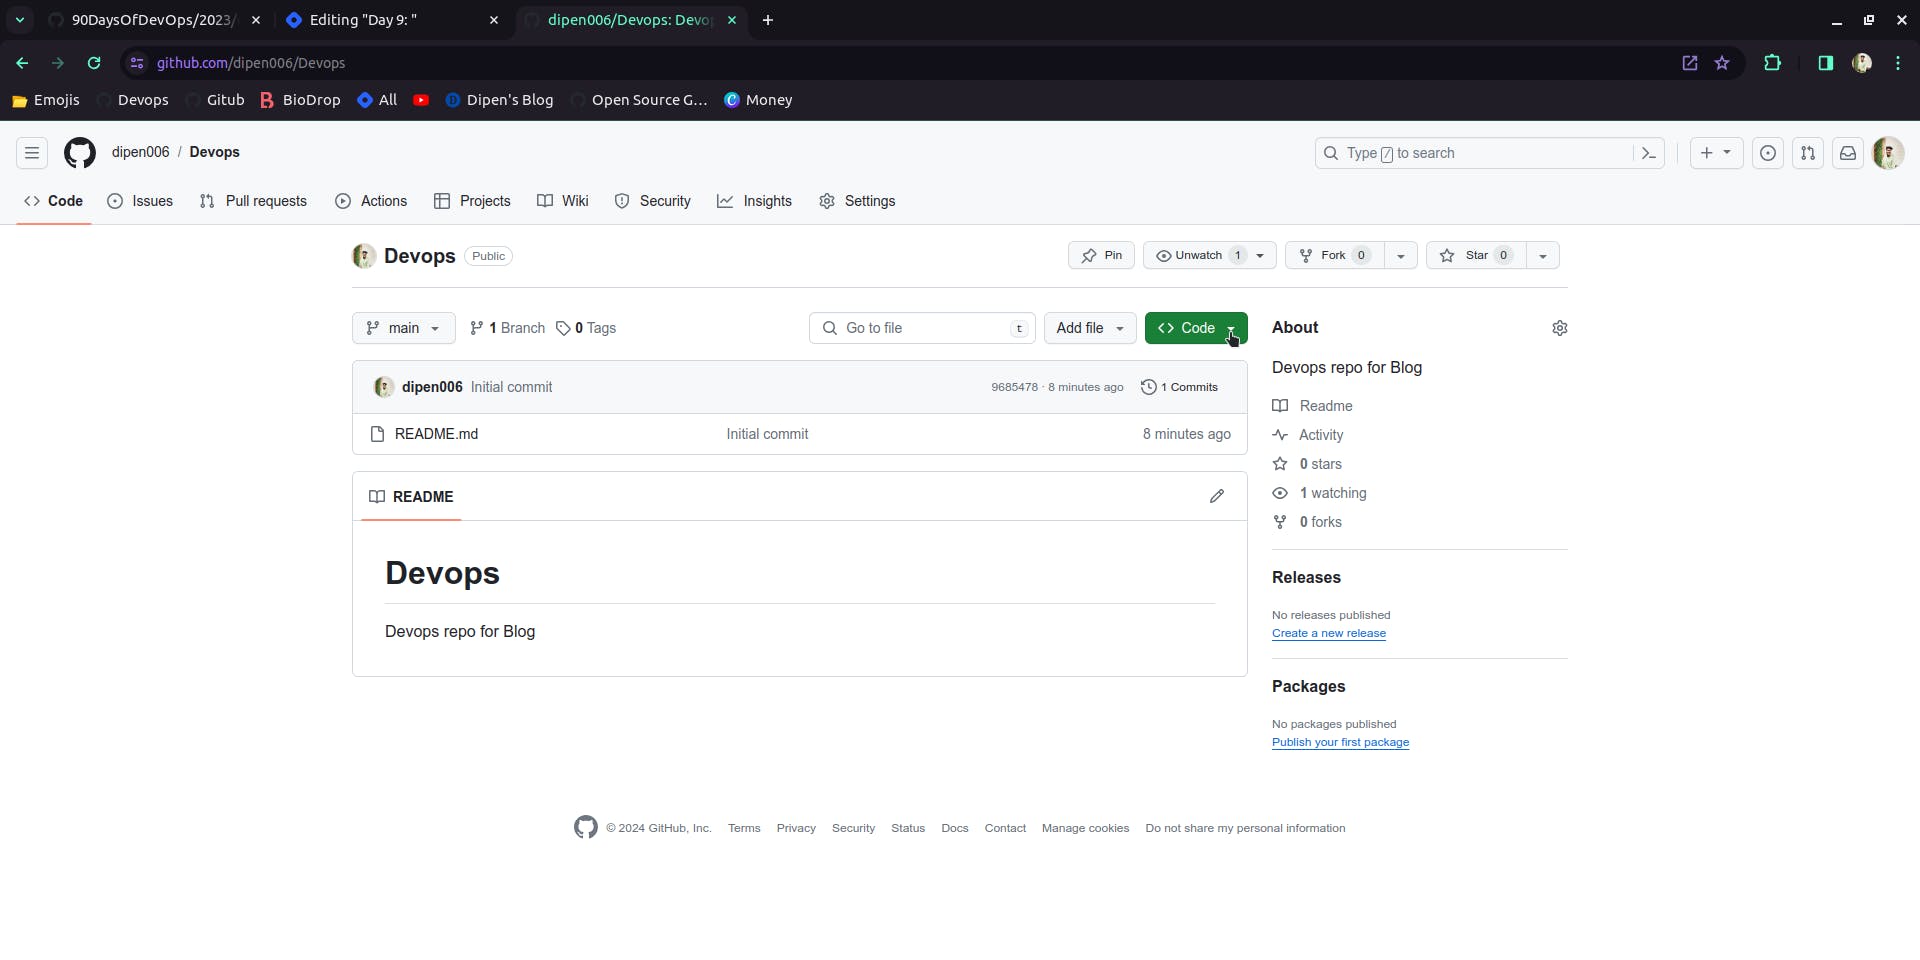
Copy the URL provided. It should look something like:
https://github.com/your-username/Devops.git.
Open Terminal or Command Prompt:
Navigate to the directory where your local repository is located. You can use the
cdcommand to change directories.
Initialize Git (If Not Already Done):
If your local directory isn't a Git repository yet, you'll need to initialize it. You can do this with the command:
git init.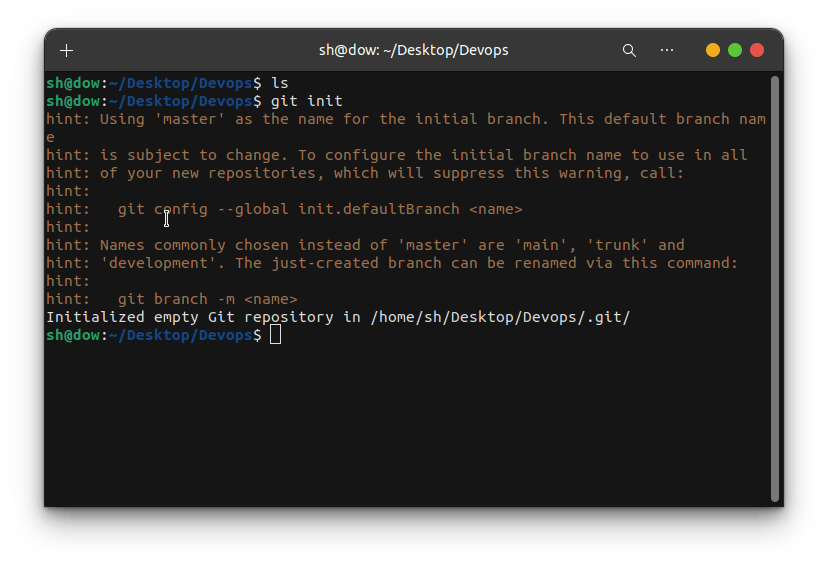
Link Your Local Repository to GitHub:
Use the following command to add a remote named "origin" (though you can name it anything you like) and provide the GitHub repository URL you copied earlier:
git remote add origin https://github.com/your-username/Devops.git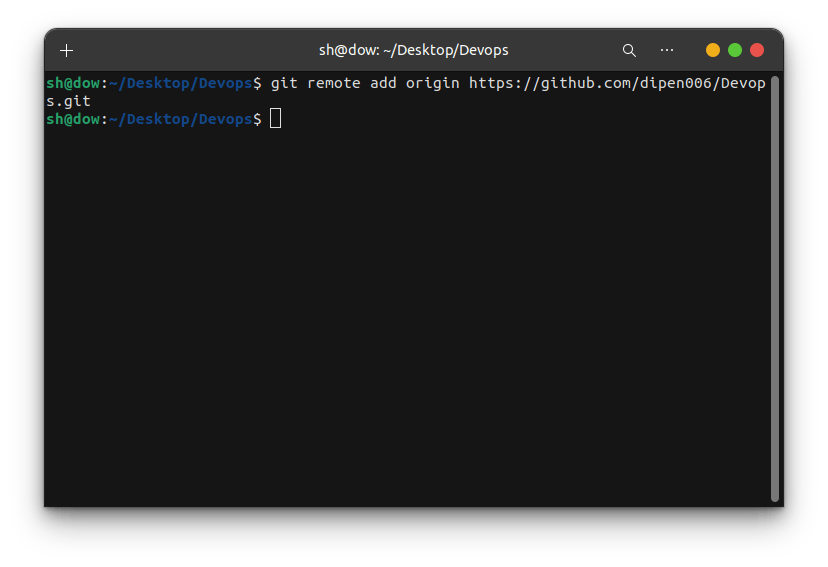
Replace
https://github.com/your-username/Devops.gitwith the URL you copied from GitHub.
Verify the Connection:
To ensure that your local repository is now connected to the GitHub repository, you can run the command:
git remote -v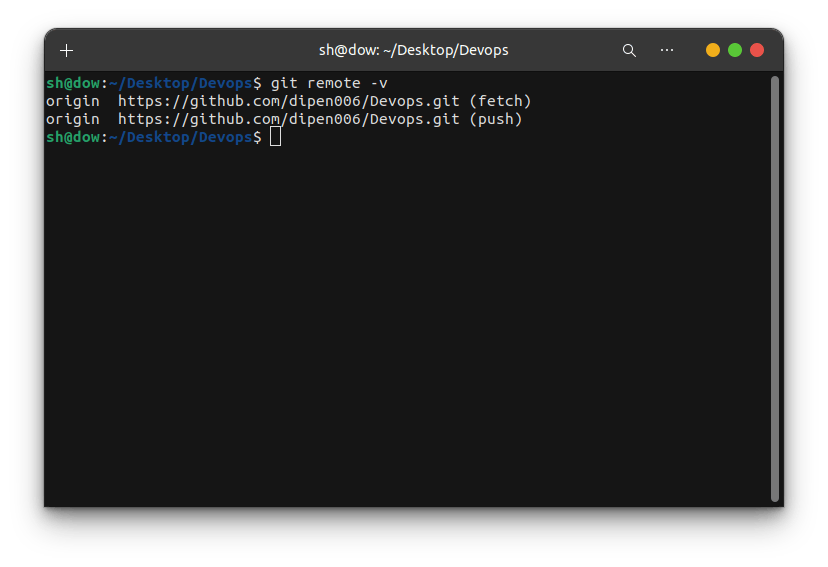
This command will list the remote URLs associated with your repository.
Push Your Changes to GitHub:
After connecting your local repository to GitHub, you can push your changes to the GitHub repository using the command:
git push -u origin masterThis command pushes your local changes to the "master" branch of the remote repository named "origin". If your main branch is named differently (e.g., "main"), replace "master" with the appropriate branch name.
That's it! Your local repository is now connected to the repository on GitHub, and you can start syncing changes between them.
Create a new file in Devops/Git/Day-02.txt & add some content to it
To create a new file named "Day-02.txt" in the "Devops/Git" directory and add some content to it, you can follow these steps:
Navigate to Your Local Repository Directory: Open your Terminal or Command Prompt and navigate to the directory where your local repository ("Devops") is located.
Create the Directory and File: If the "Git" directory doesn't exist yet, create it using the following command:
mkdir -p Devops/Git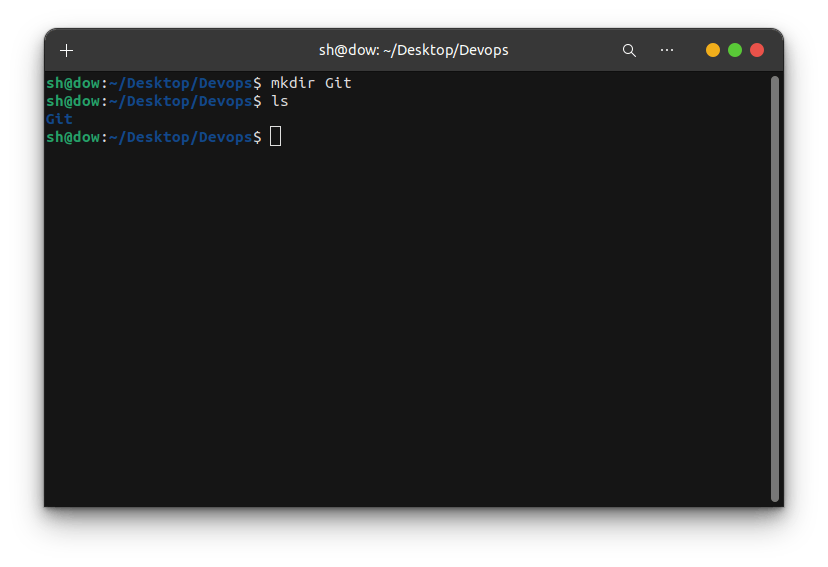
This command creates the "Git" directory inside the "Devops" directory. If the "Git" directory already exists, you can skip this step.
Navigate to the "Git" Directory:
cd Devops/Git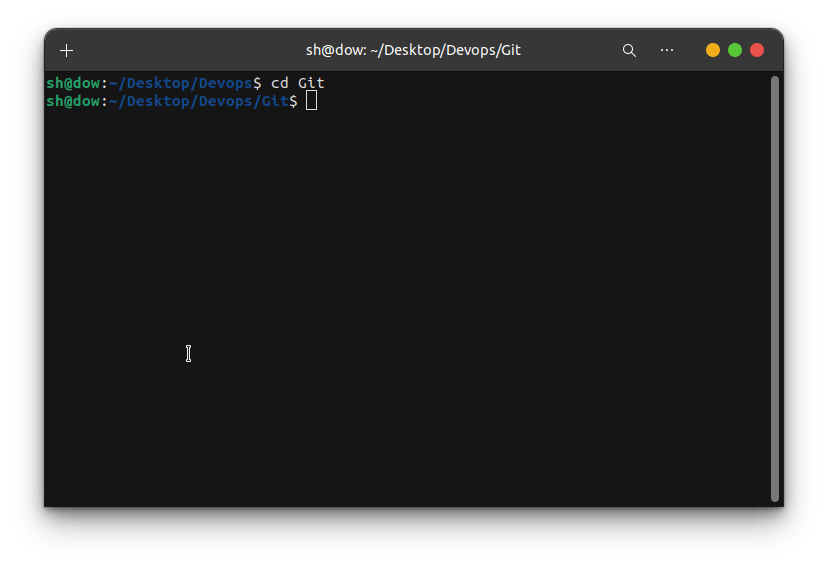
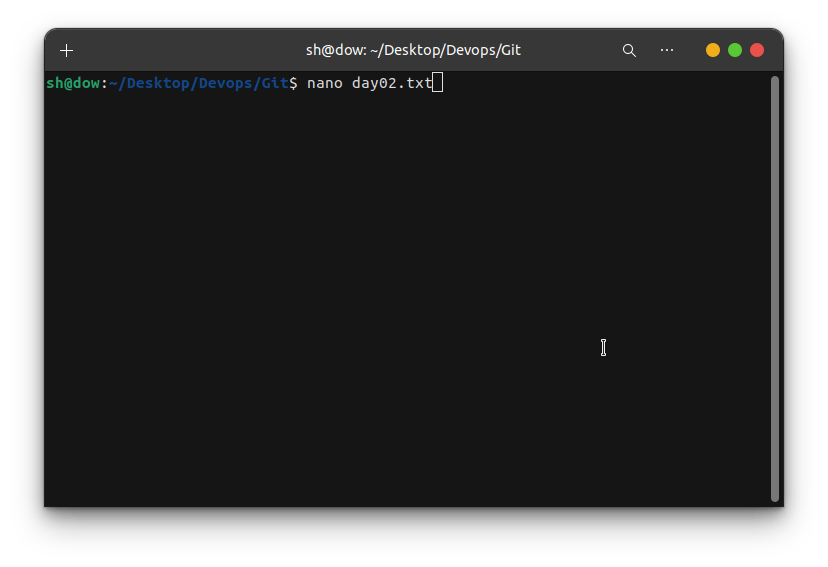
Create the New File: Use your preferred text editor to create the "Day-02.txt" file and add some content. If you're using command-line editors like Vim or Nano, you can create and open the file with:
nano Day-02.txtThis will open the Nano text editor. Enter your desired content in the file.
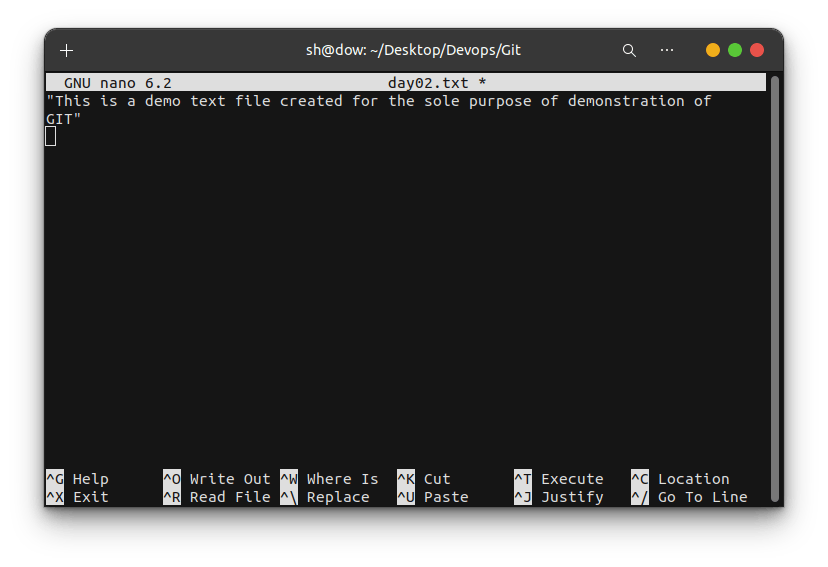
Save and Exit the Editor: After adding your content, save the changes and exit the editor. For Nano, you can do this by pressing
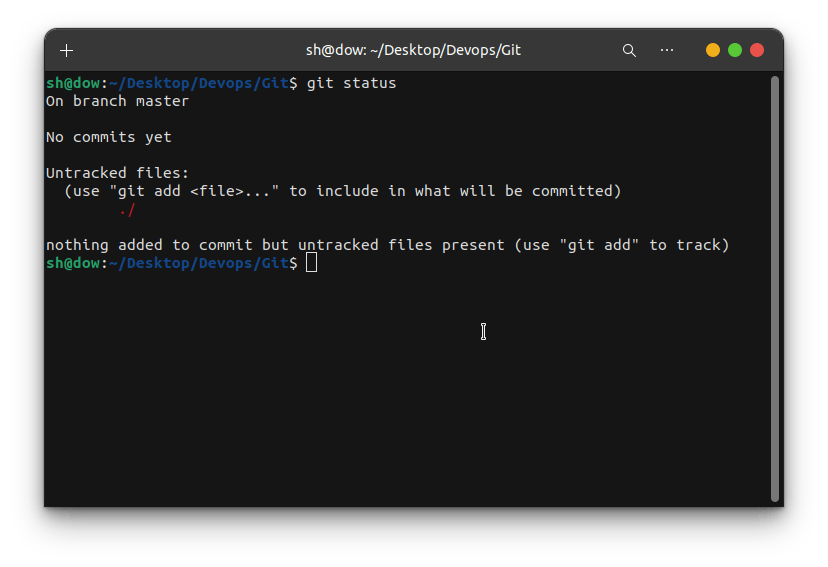
Ctrl+X, then confirming to save the changes.Check Git Status:
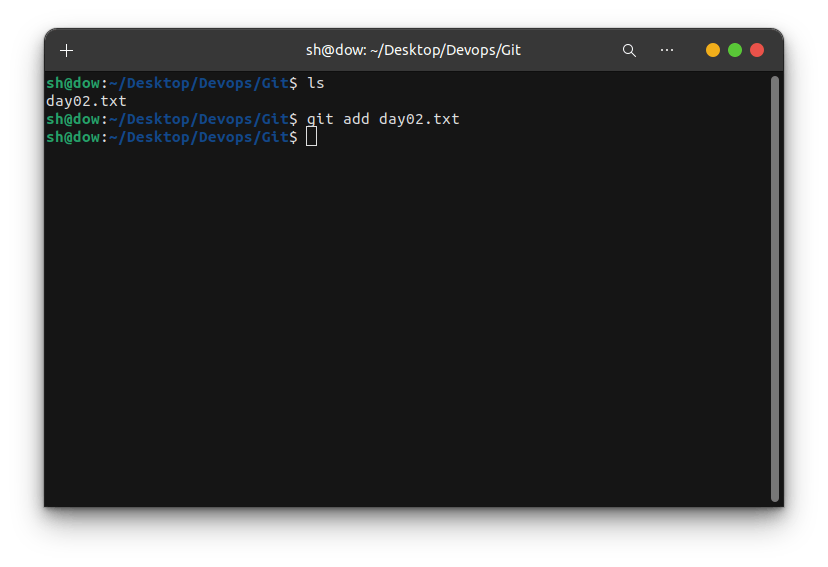
git statusThis command will show you the status of your repository and indicate that there are untracked files.
Add the New File to Git:
git add Day-02.txtThis command stages the new file for commit.
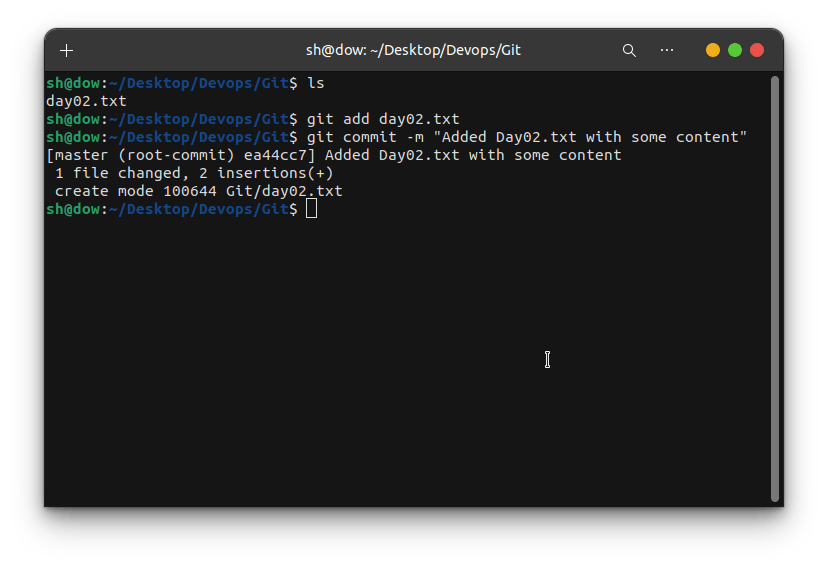
Commit the Changes:
git commit -m "Add Day-02.txt with some content"This command commits the changes you've made with a brief message describing what you did.
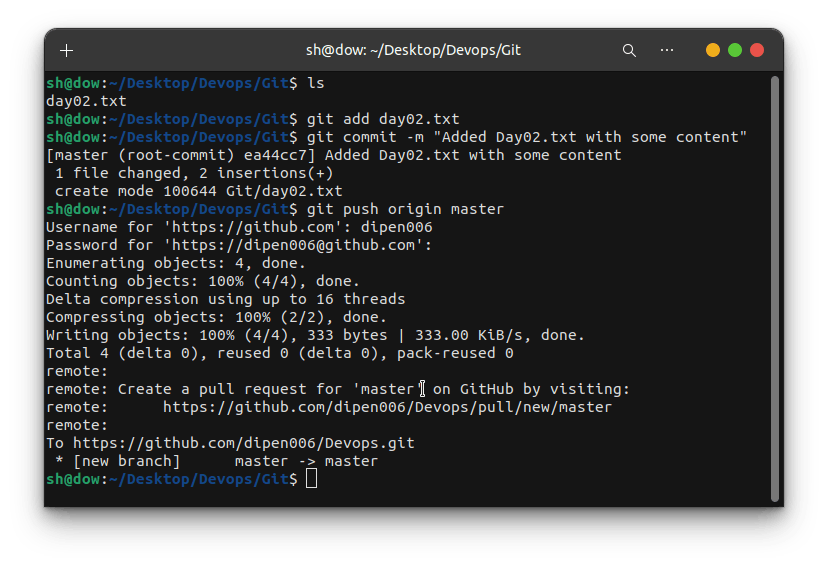
Push the Changes to GitHub:
git push origin masterThis command pushes your committed changes to the remote repository on GitHub.
That's it! You've created a new file named "Day-02.txt" in the "Devops/Git" directory, added some content to it, and pushed the changes to GitHub.
Push your local commits to the repository on Github
To push your local commits to the repository on GitHub, you can follow these steps:
Navigate to Your Local Repository Directory: Open your Terminal or Command Prompt and navigate to the directory where your local repository ("Devops") is located.
Check Git Status (Optional): It's good practice to check the status of your repository before pushing any changes to ensure everything is in order. You can do this with:
git status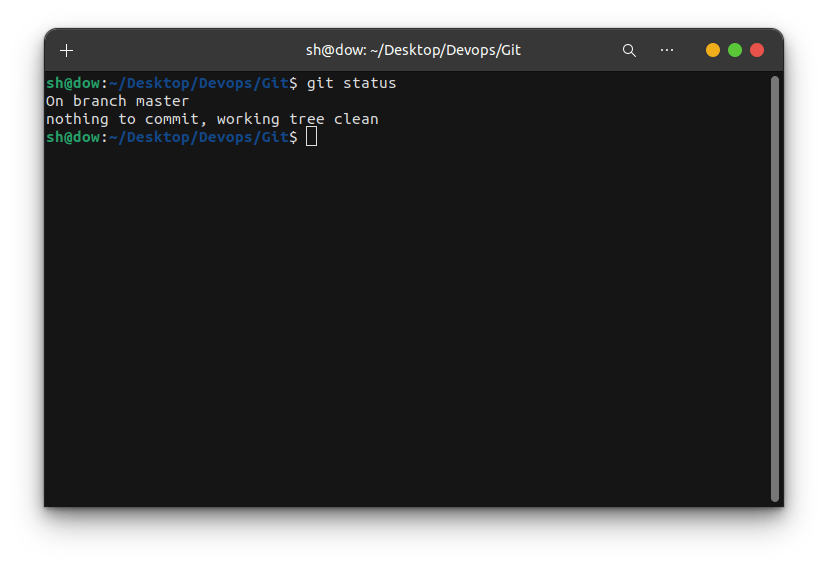
Add Any Untracked Files (Optional): If you have any untracked files that you want to include in your commit, you need to add them to the staging area. You can do this with:
git add .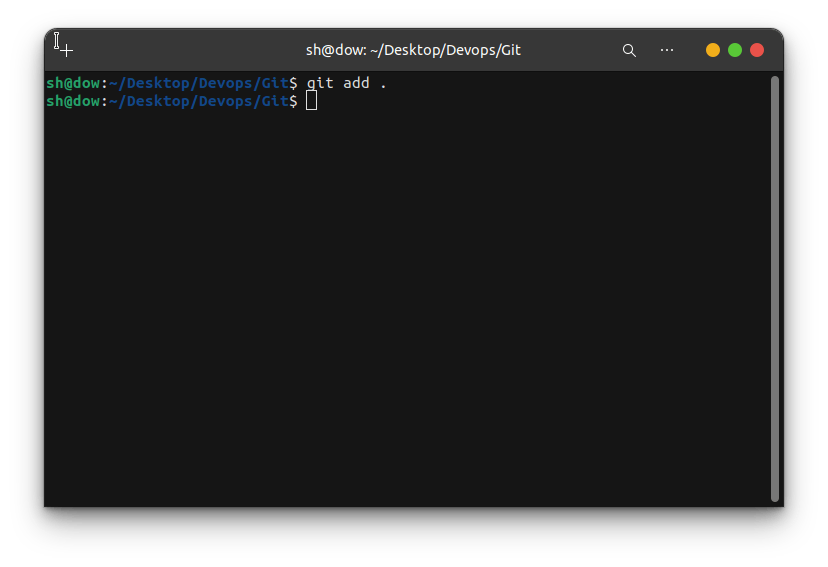
This command adds all untracked files to the staging area. Replace
.with specific file names if you only want to add certain files.Commit Your Changes:
git commit -m "Your commit message here"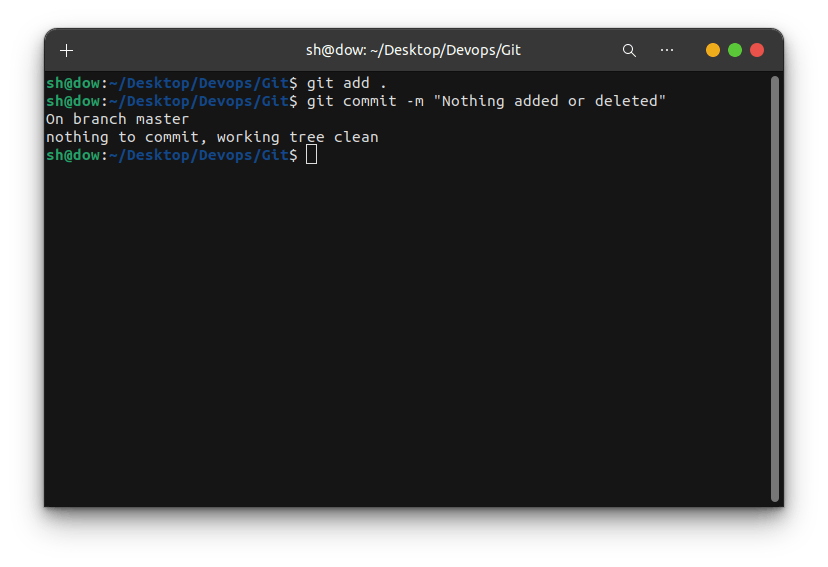
Replace
"Your commit message here"with a brief description of the changes you're committing.Push Your Commits to GitHub:
git push origin masterThis command pushes your local commits to the remote repository on GitHub. If your main branch is named differently (e.g., "main"), replace "master" with the appropriate branch name.
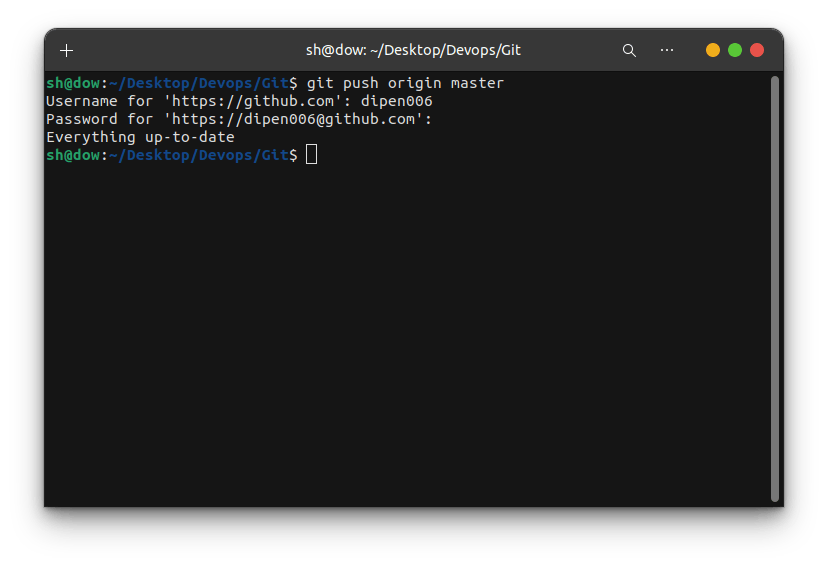
Enter Your GitHub Credentials (If Prompted): If this is your first time pushing to the repository or if you haven't authenticated recently, Git may prompt you to enter your GitHub username and password.
Wait for the Push to Complete: Git will upload your commits to GitHub. Depending on the size of your changes and your internet connection speed, this may take a moment.
Check GitHub: After the push is complete, you can go to your GitHub repository in a web browser and verify that your changes have been successfully pushed.
That's it! Your local commits have been pushed to the repository on GitHub.
"Fuel my passion and support my journey by clicking 'Buy me a coffee' today!"
~Dipen : )